
 Image 1 of 2
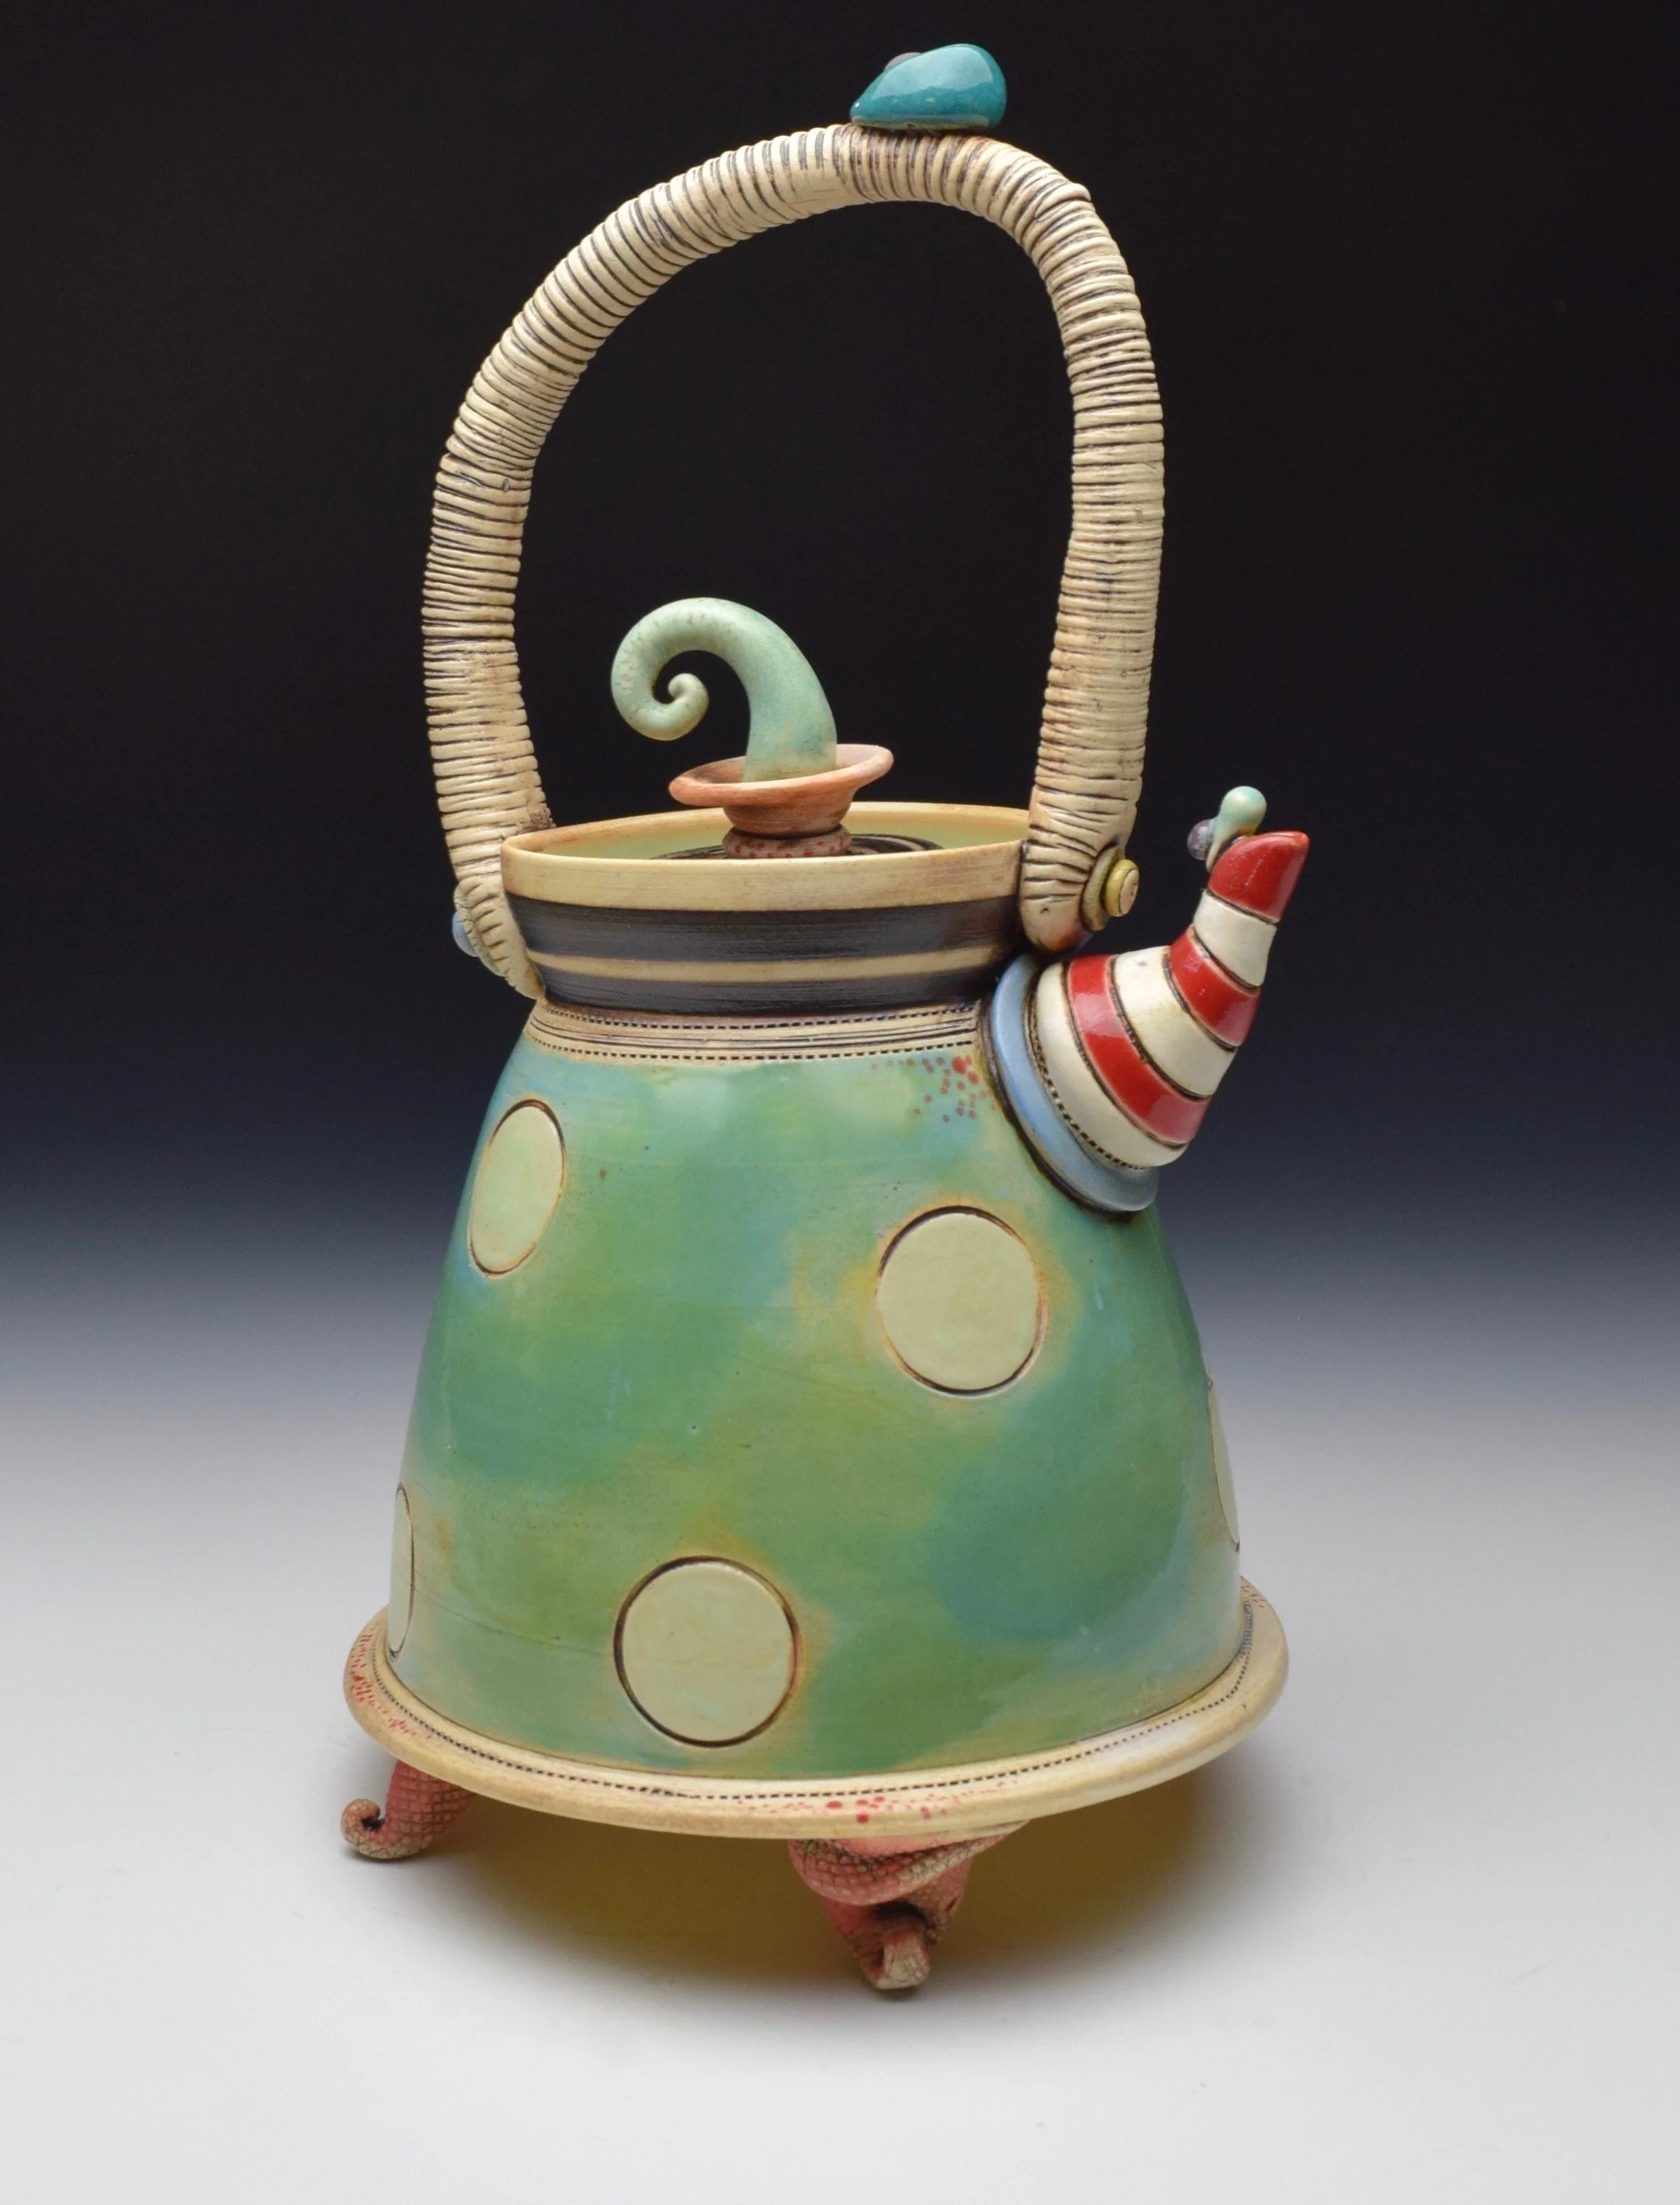 Image 2 of 2
Throw a Total Teapot: 2-Day Intermediate Wheel Intensive
Skill Level: Intermediate (You should be totally fine centering and throwing a 2–3 lb cylinder on your own)
The Goal: Wheel-throw all the pieces—body, lid, and spout—and assemble them into a badass, drip-free teapot.
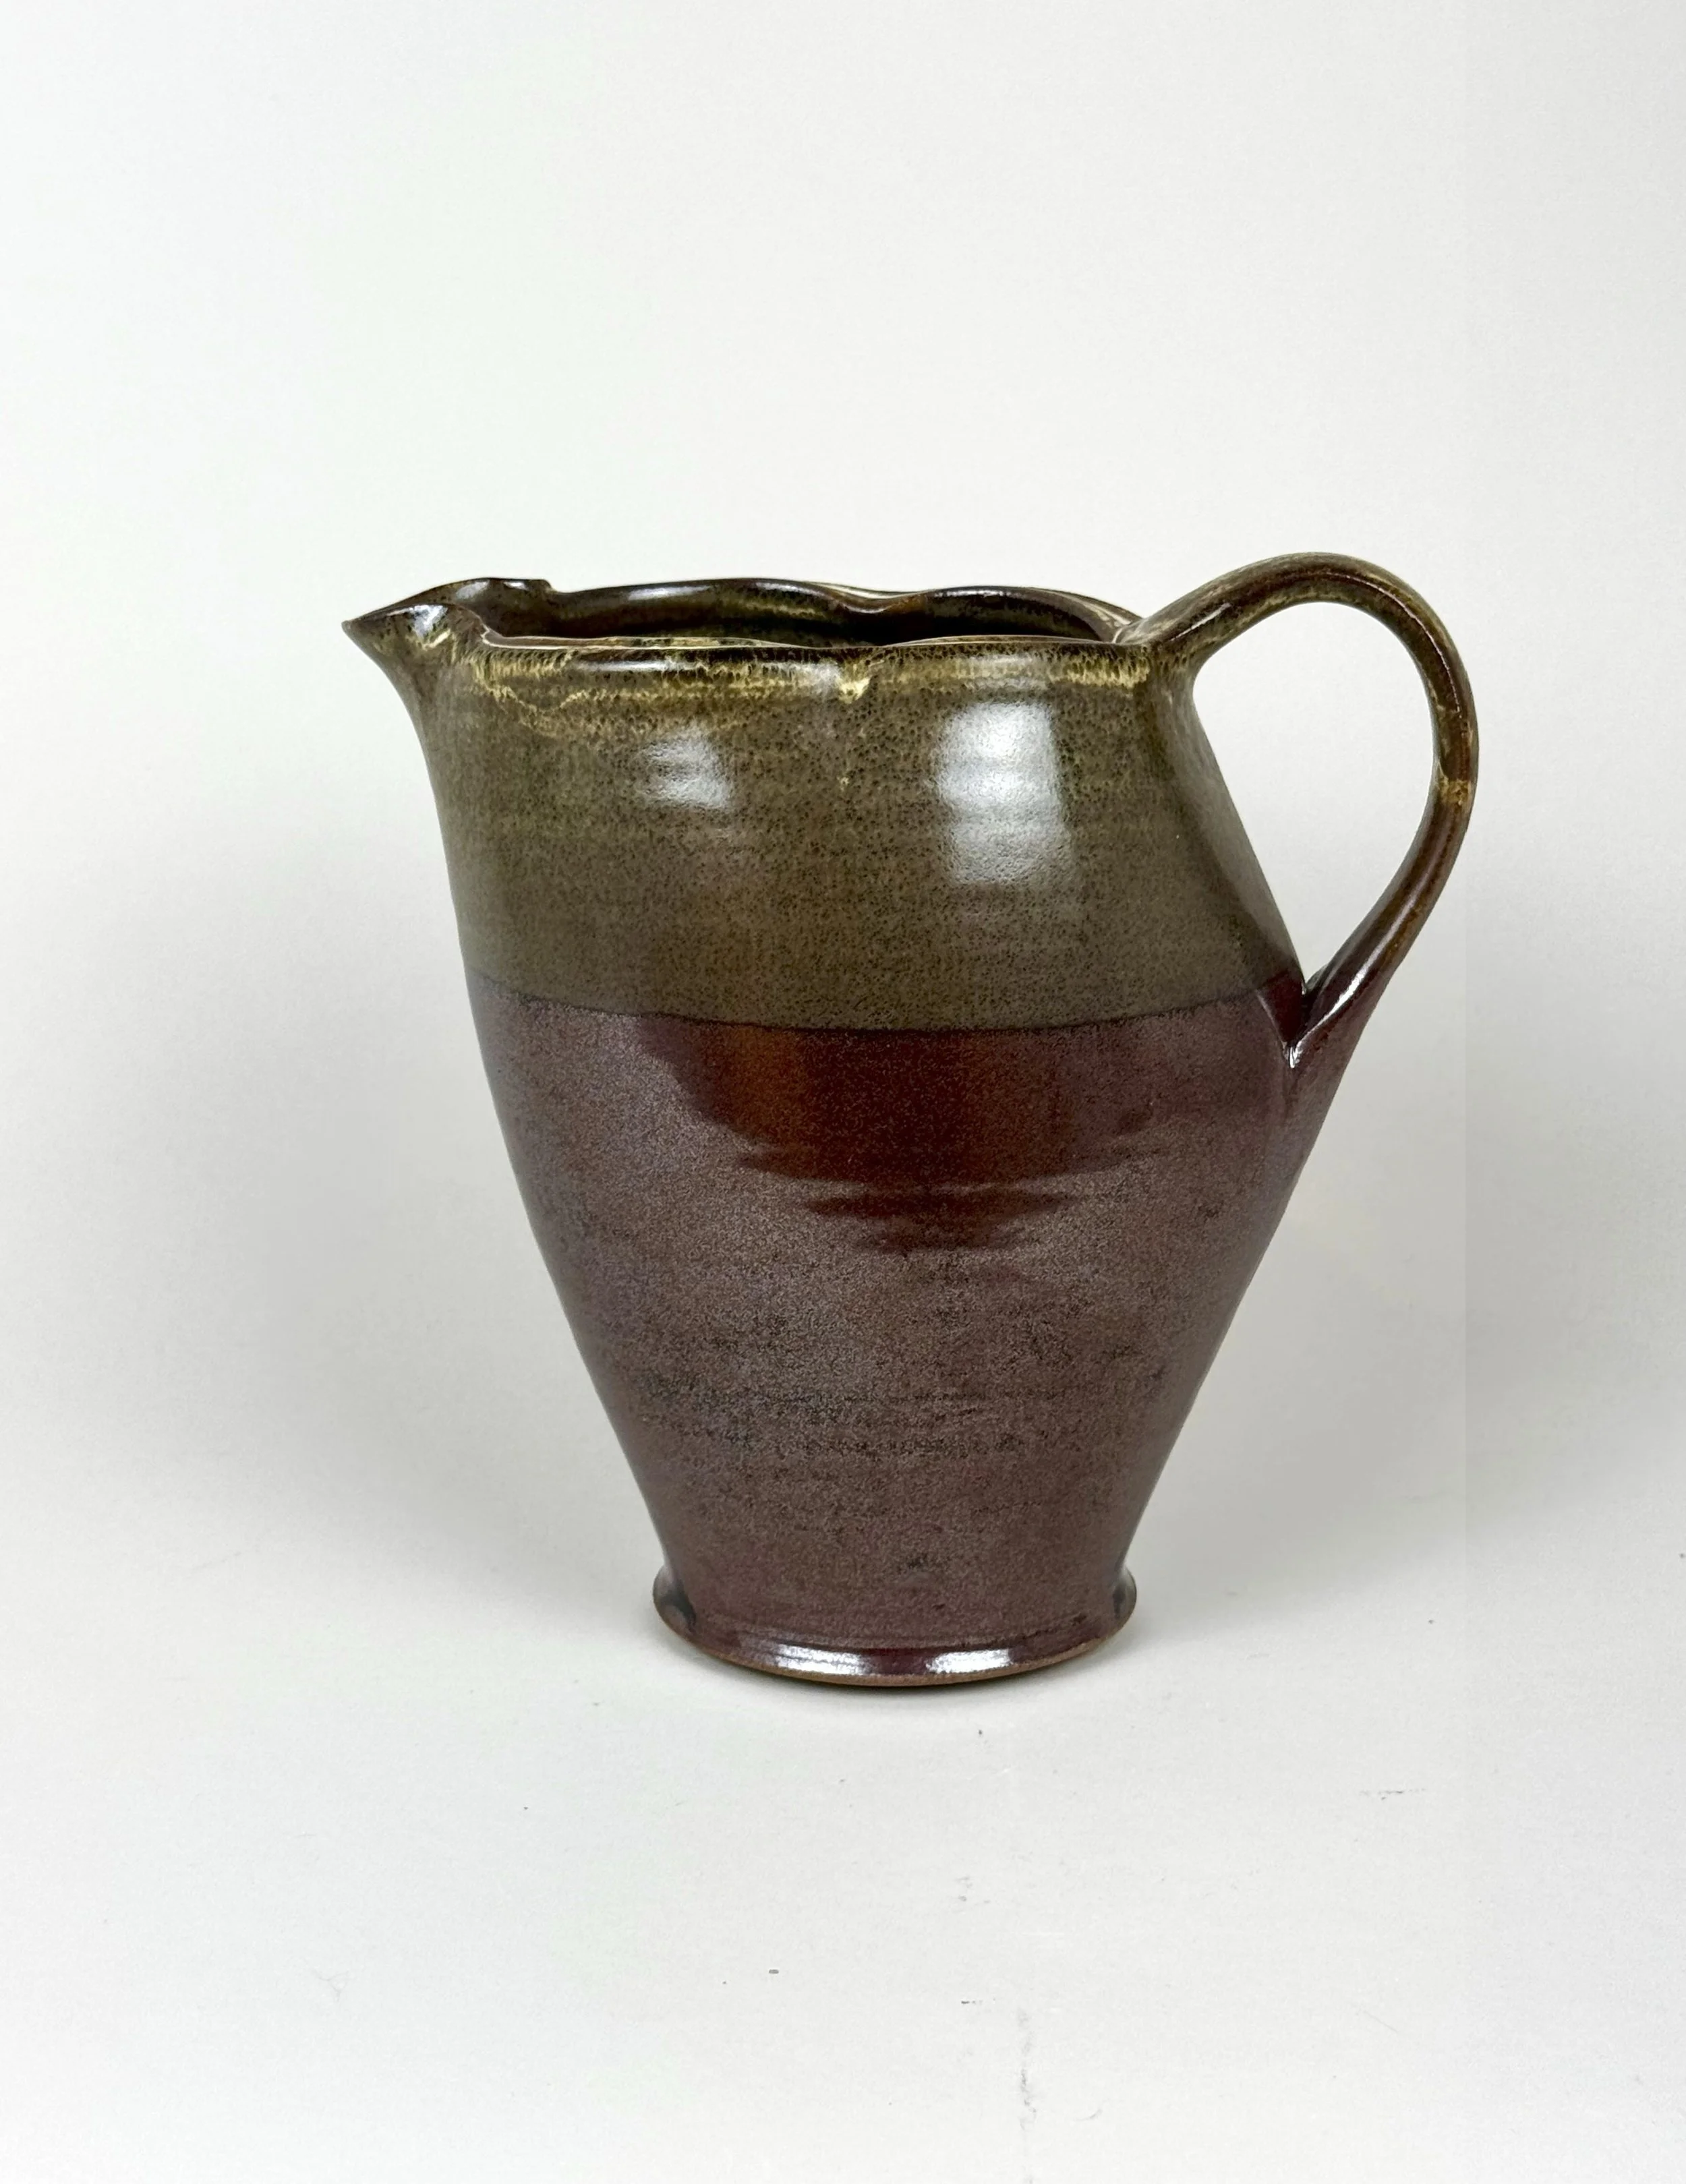
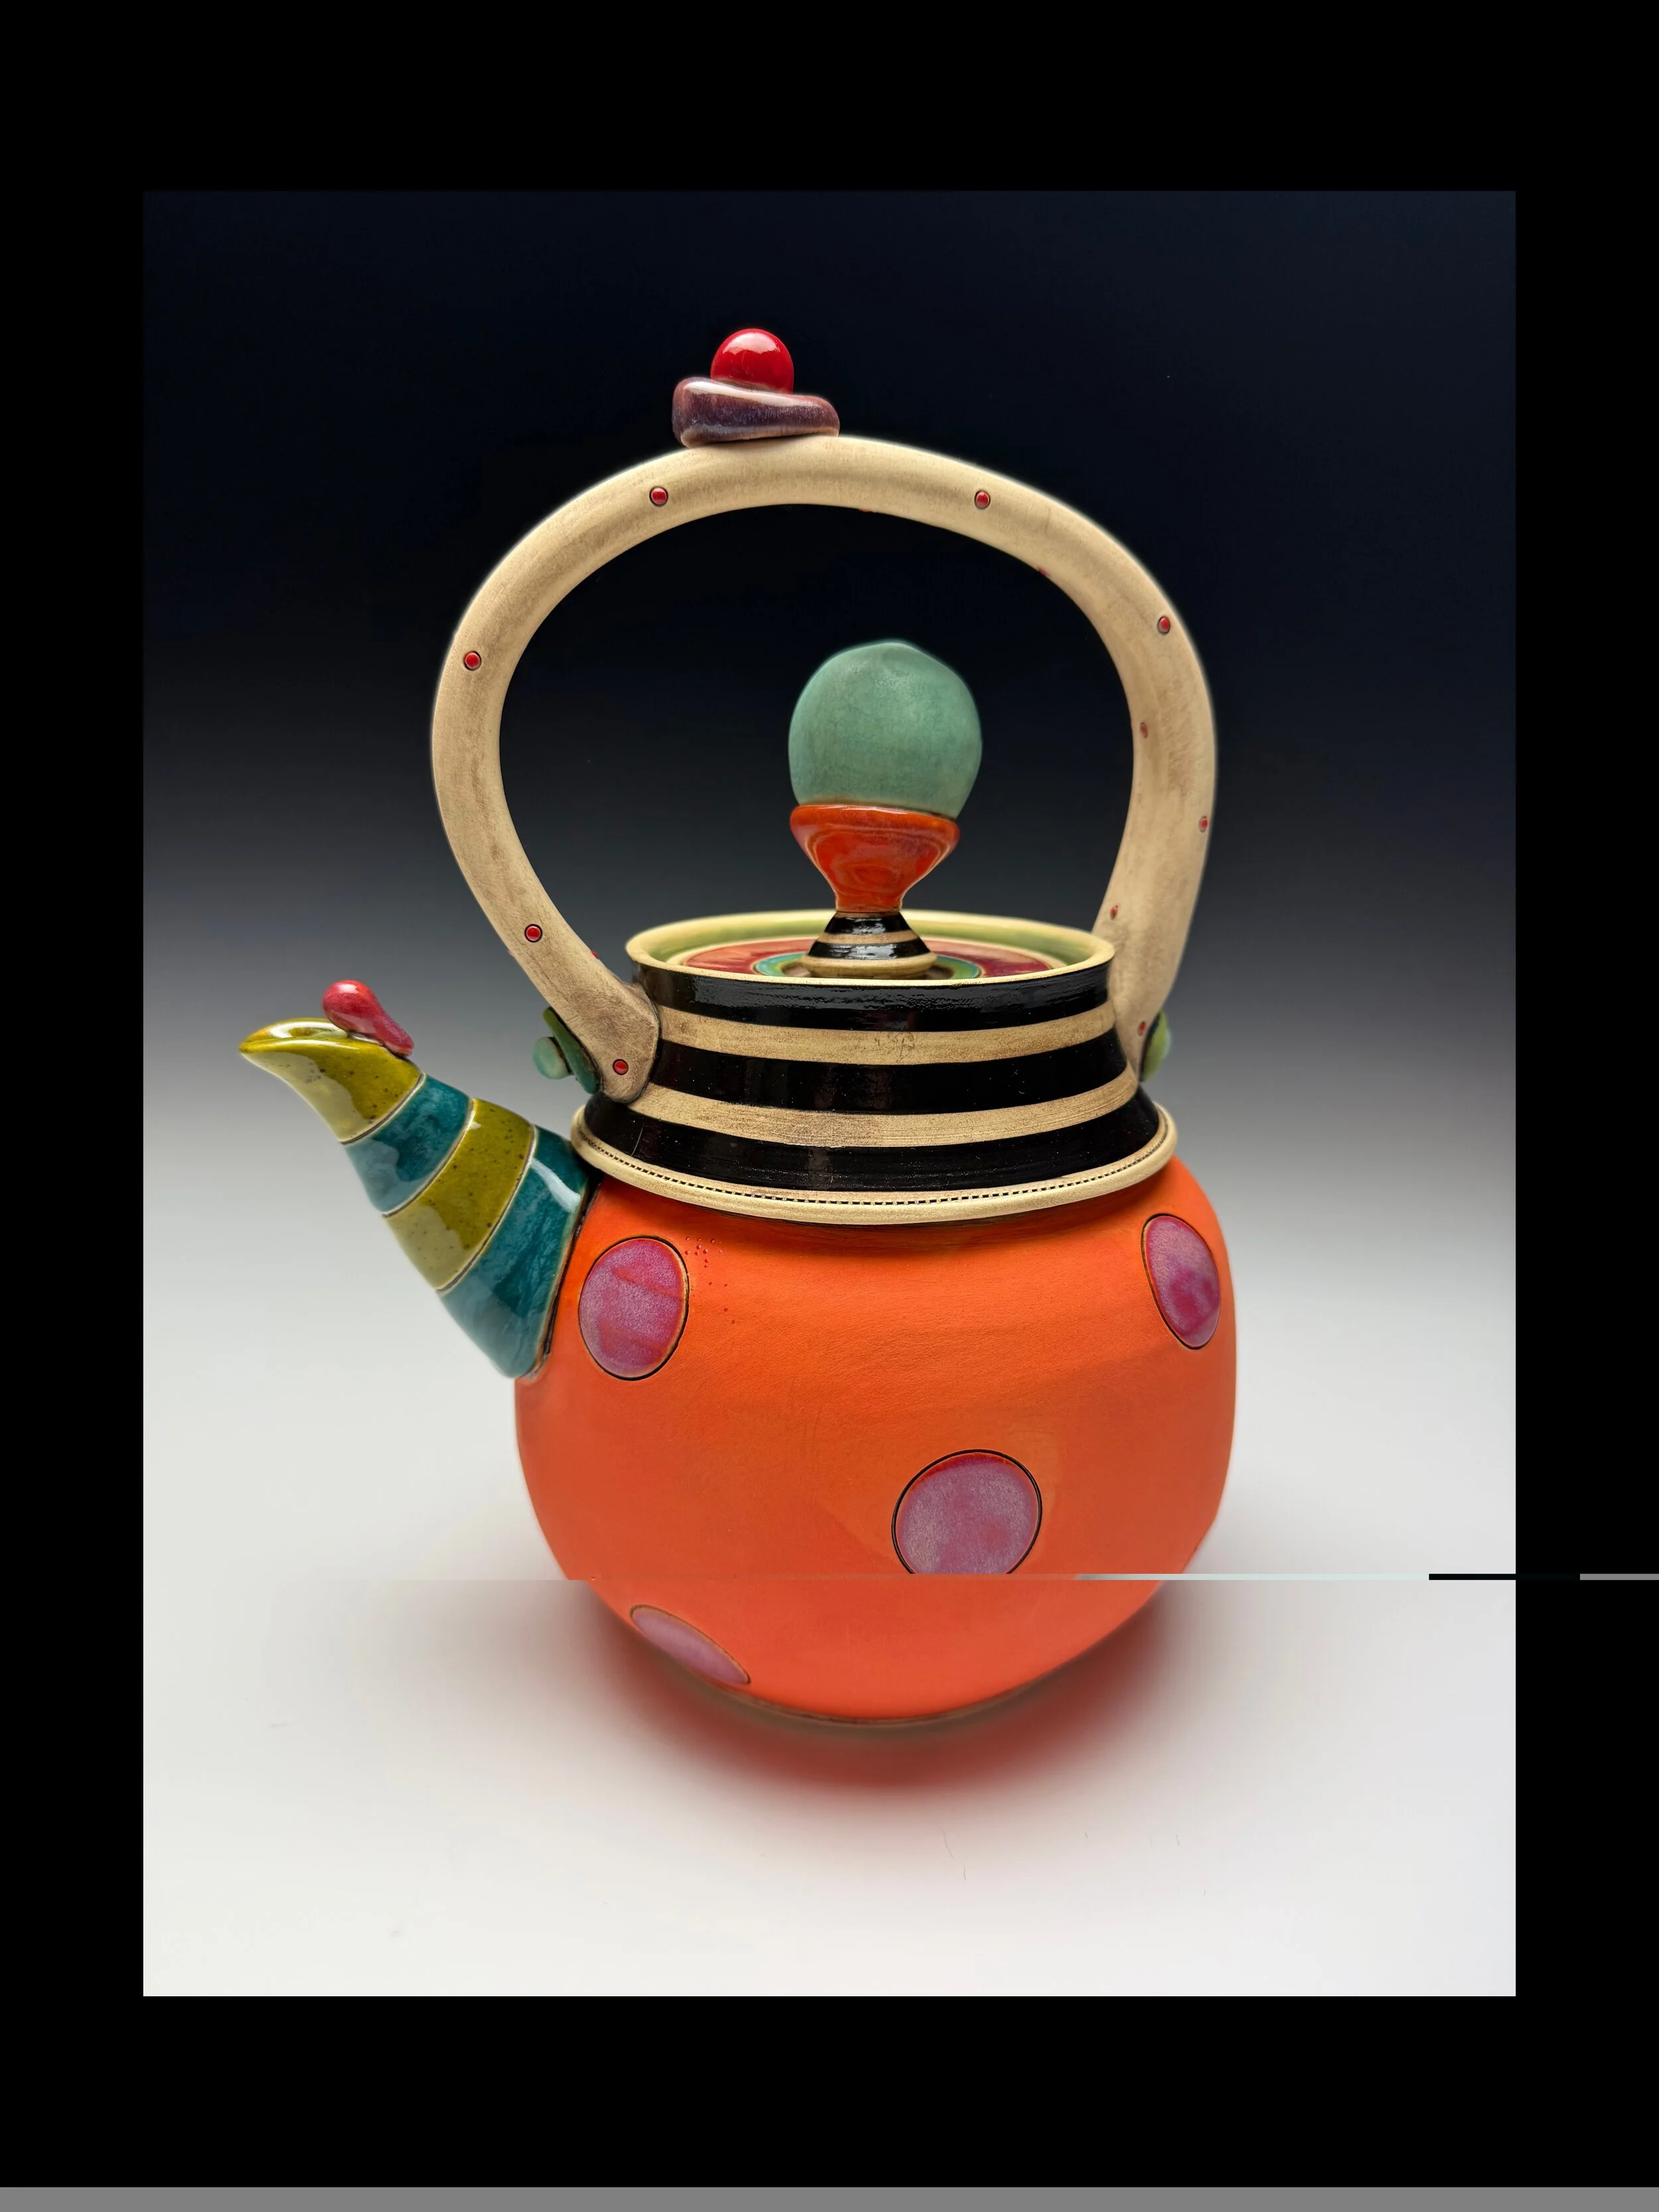
Making a teapot on the wheel is a rite of passage for any potter. It’s not just about making one cool shape; it’s about throwing four different parts that actually fit together, balance right, and pour perfectly without making a mess.
Day 1: Throwing All the Parts (3 Hours)
The Teapot Body: Using about 2 lbs of clay) and learn how to shape a tight gallery so your lid doesn't fall out later.
The Perfect-Fit Lid: Grab your calipers! We’ll throw matching lids on the wheel and measure them down to the millimeter so they lock into your teapot body snugly.
The Spout: You'll learn how to choke the clay to get a sharp, clean tip that cuts off water cleanly (goodbye, annoying drips).
Day 2: Assembly & The Physics of Pouring (3 Hours)
Trimming & Tuning: Trim a clean foot ring on your pot, and finish up your lid knob.
The Built-In Strainer: Before the spout goes on, we’ll use hole-cutters to drill a clean grid of strainer holes right into the belly of your pot.
The Big Merge: Cut your wheel-thrown spout at an angle to fit the body's curve. Score, slip, and blend it seamlessly so it doesn't crack or pull away in the kiln.
Pulling the Handle: Pull a fresh clay handle and attach it directly opposite your spout. We'll show you how to align the handle so the pot feels completely weightless when you pour.
Kristin Gruenburger
Throw a Total Teapot: 2-Day Intermediate Wheel Intensive
Skill Level: Intermediate (You should be totally fine centering and throwing a 2–3 lb cylinder on your own)
The Goal: Wheel-throw all the pieces—body, lid, and spout—and assemble them into a badass, drip-free teapot.
Making a teapot on the wheel is a rite of passage for any potter. It’s not just about making one cool shape; it’s about throwing four different parts that actually fit together, balance right, and pour perfectly without making a mess.
Day 1: Throwing All the Parts (3 Hours)
The Teapot Body: Using about 2 lbs of clay) and learn how to shape a tight gallery so your lid doesn't fall out later.
The Perfect-Fit Lid: Grab your calipers! We’ll throw matching lids on the wheel and measure them down to the millimeter so they lock into your teapot body snugly.
The Spout: You'll learn how to choke the clay to get a sharp, clean tip that cuts off water cleanly (goodbye, annoying drips).
Day 2: Assembly & The Physics of Pouring (3 Hours)
Trimming & Tuning: Trim a clean foot ring on your pot, and finish up your lid knob.
The Built-In Strainer: Before the spout goes on, we’ll use hole-cutters to drill a clean grid of strainer holes right into the belly of your pot.
The Big Merge: Cut your wheel-thrown spout at an angle to fit the body's curve. Score, slip, and blend it seamlessly so it doesn't crack or pull away in the kiln.
Pulling the Handle: Pull a fresh clay handle and attach it directly opposite your spout. We'll show you how to align the handle so the pot feels completely weightless when you pour.
Kristin Gruenburger